Самое актуальное и обсуждаемое

Популярное
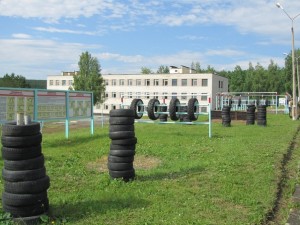
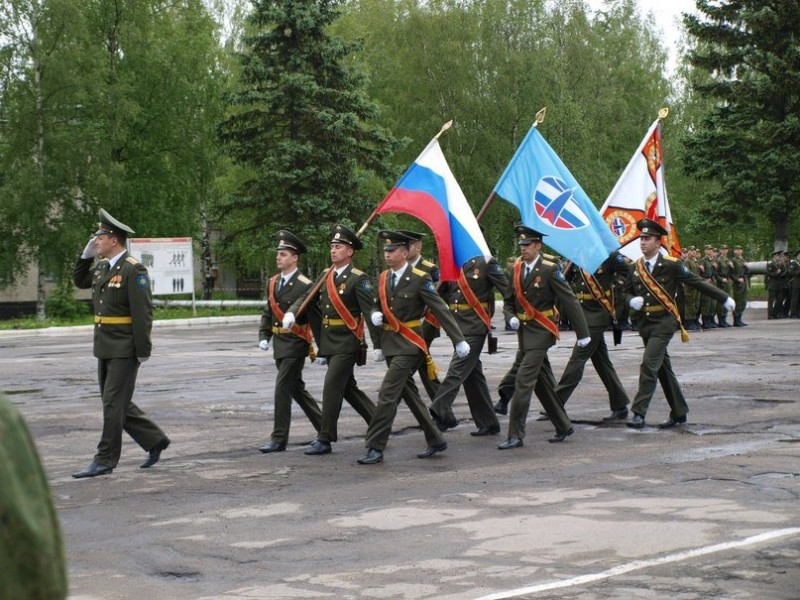
1201-й объект 12-го главного управления министерства обороны (в/ч 52015)
Впечатления очевидцев
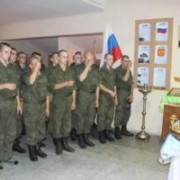
Построение на плацу части во время присяги
Основная отрасль экономики городского...
468
0
0

5 отличий ведомственной охраны от вневедомственной
Основные разделы портала ФГУП «Охрана»
Верхняя часть сайта содержит 6 основных разделов. При переходе...
185
0
0
33-я отдельная мотострелковая бригада (в/ч 22179)
Общие сведения
Крупный боеспособный гарнизон, военная часть 12128, располагается с 1991 года в поселке...
80
0
0
35-я ракетная дивизия (в/ч 52929)
Войсковая часть 41516 (65-й МРУЦ)
В настоящее время 65-й межвидовой региональный учебный центр войск...
70
0
0
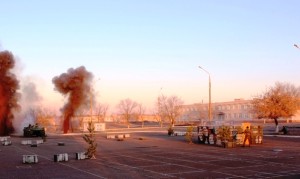
76-й отдельный командно-измерительный комплекс (в/ч 14108)
Последние изменения
08.07.2020
...
329
0
0

Что такое лгбт
Имущественные права
Лариса:
Мы сами пытались взять ипотеку, хотели пойти как созаемщики, максимум дают...
200
0
0
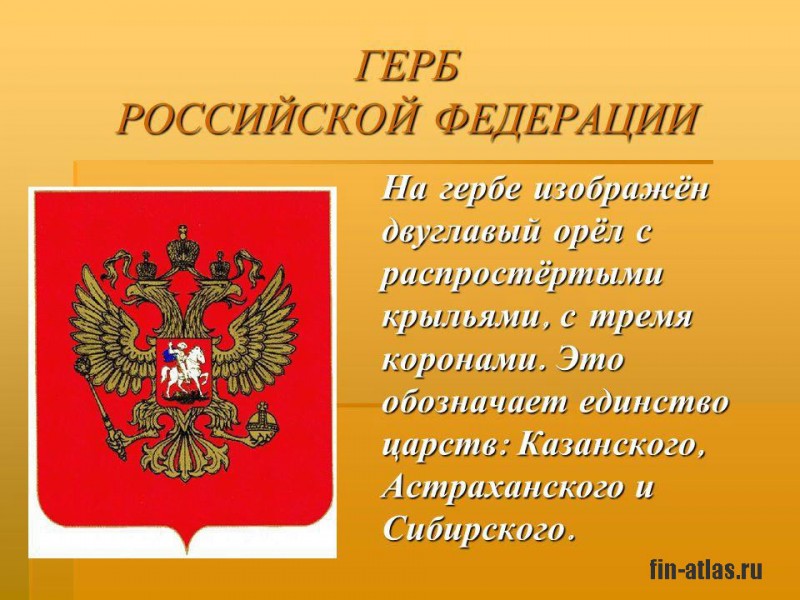
Как появился герб россии
Герб России при Романовых
Михаил Федорович Романов добавил на эмблему Георгия Победоносца – его изображение...
212
0
0
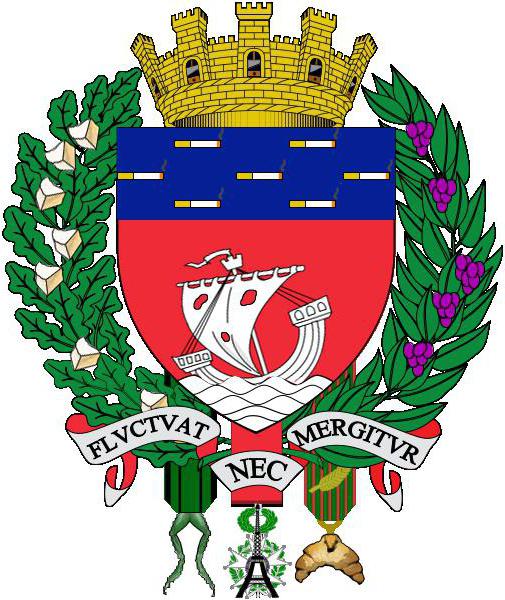
Флаг парижа (фото)
Размер и цвета
В течение долгого времени трёхцветный флаг имел неравные полосы, иногда красная полоса...
222
0
0
Полезные советы
Важно знать!
Герб италии: фото с описанием, история создания, значение и интересные факты. флаг италии
Значение цветов и символа флага
На данный момент есть множество различных толкований цветовых оттенков флага. Современное толкование говорит о ценностях демократической и независимой страны. Ученые считают,...
Читать далее


Лучшее
Важно знать!
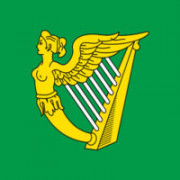
Флаг ирландии
Отличия флагов Ирландии и Кот д’Ивуара
Есть несколько флагов, которые по изображению выглядят похожими на флаг Ирландии. Это и Итальянский флаг, и Мексиканский. Чем то похоже даже полотнище Индии. Но...
Читать далее


Обсуждаемое
Важно знать!
Голландия: флаг страны, цвета
Основные сведения о стране
Занимаемая территория: — 41 543 км2
Численность населения около 17 млн. человек. Основную часть населения составляют коренные жители: нидерландцы и фризы
Официальный язык:...
Читать далее
Популярное


Актуальное
Важно знать!
Развивающийся белый флаг с гербом сирии. символ страны. иллюстрация. оригинальный и простой герб в официальных цветах и правильной пропорции — стоковое изображение
Значение цветов
Каждый оттенок, который демонстрирует флаг Сирии, имеет свой смысл. Некоторые из них связаны с арабским регионом. Например, зеленый цвет является традиционным символом исламской религии...
Читать далее
Краткая история ярославля
Флаг донецкой народной республики
Уэльс
Герб монголии
Оперуполномоченный: суть его работы и обязанности
День государственного флага российской федерации
Отсылка к польше, помощникам нацистов и возврат в 90-е. что значат красно-белые флаги на протестах в минске
Флаг московской области
Париж
Обновления
 Без рубрики
Донбасс достопримечательности: История, Культура и Удивительные Пейзажи
Без рубрики
Донбасс достопримечательности: История, Культура и Удивительные Пейзажи
Донбасс достопримечательности: История, Культура и Природные Красоты региона
Донбасс - регион, обладающий...
 Герб узбекистана
Описание
Флаг на почтовой марке Узбекистана 1992 года.
Государственный флаг Республики Узбекистан...
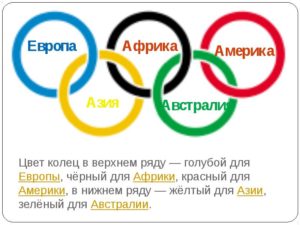 Кольца олимпийских игр что означают? эмблема олимпийских игр — кольца. символ олимпийских игр — кольца
Какого цвета Олимпийские кольца
В середине 60-х годов пошлого века, активно развивалось движение против...
 Герб твери
История герба Твери и его описание
Былая слава и богатая история города отражены в его символах. Первый...
 Герб воронежской области
Кто работал над гербом
Герб – крайне важное изображение. Здесь нет и не может быть лишних мелочей...
 История флага и герба екатеринбурга
Герб 1783 года
Герб 1783 года.
Официальный екатеринбургский герб был утвержден Екатериной II...
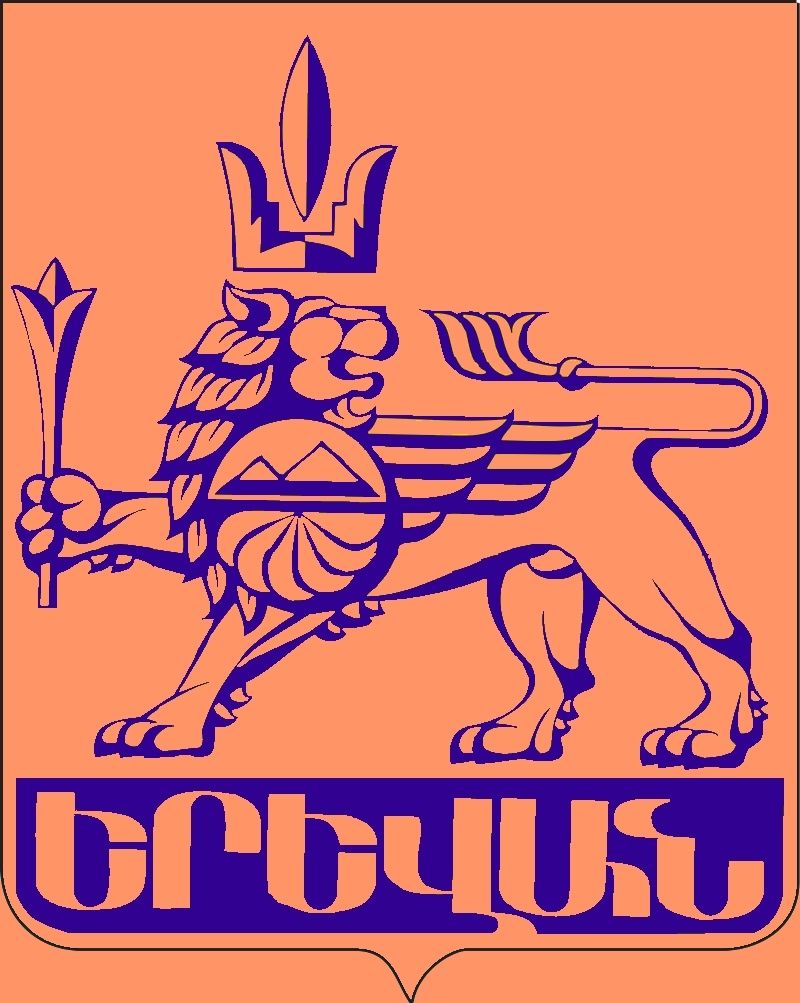 Герб армении
Государственные символы
Закон "О государственном флаге Республики Армения" принят Верховным Советом...
 Символика ставропольского края
Обоснование символики
Волнистый пояс переменных цветов символизирует реку Куму, по обеим берегам которой...
 Герб самарской области
Почему важно знать историю флага
Историческое прошлое — культурная ценность и гордость каждого народа....
 Зсфср
Зсфср
Закавказье в составе СССР
«Вот здесь мне наша граница не нравится», - сказал Сталин и показал южнее...
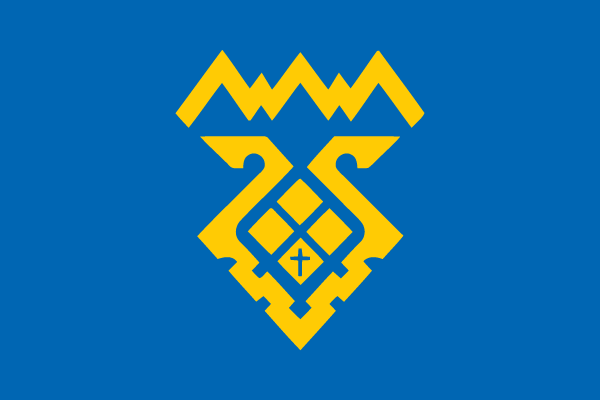
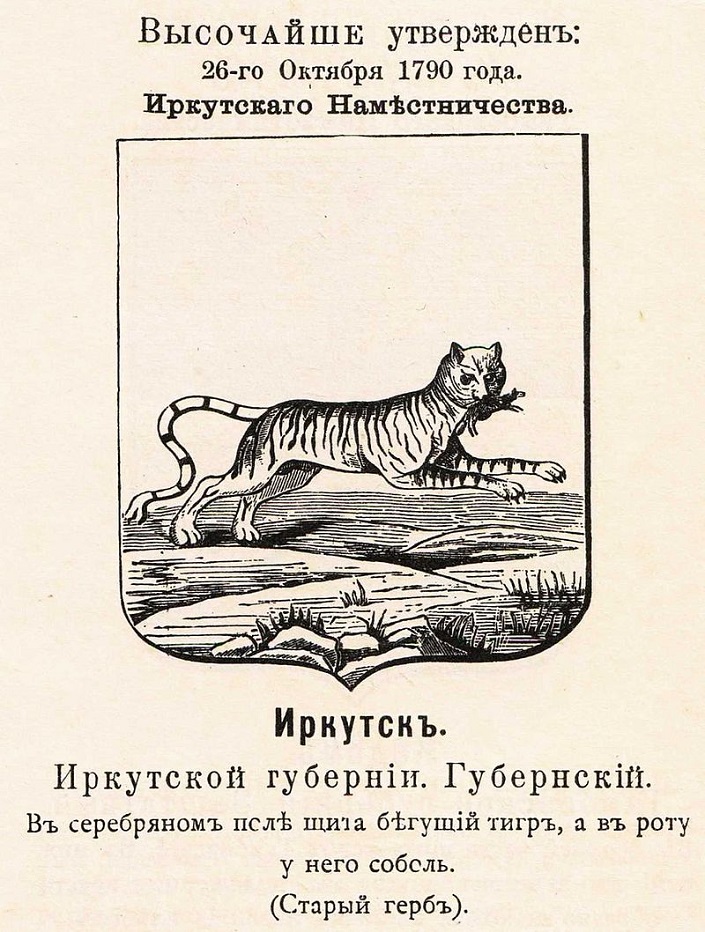 Герб иркутской области
Примечания
О символике города Иркутска: Решение городской Думы от 27 февраля 1996 г. № 165-гд // Восточно-Сибирская...
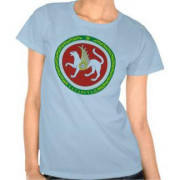
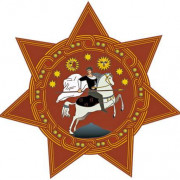
 Крылатый барс
Казанская символика в гербах других городов
Герб Каширы 1778 года.
Казанская геральдическая символика...
Нашли ошибку, неточность или опечатку в тексте?
Выделите её и нажмите Ctrl + Enter
Выделите её и нажмите Ctrl + Enter